
Five Tips for Submitting Perfect Print Ready Files
Are you about to send your project to your printer? You need to know these five tips before you submit your files. These will save you time, money and will ensure that your project turns out the way you planned.
Communicate – Talk to your printer.
So many things can be easily managed on the front end of your project if you have an open line of communication with your printer. Ask questions and expect answers – your printer’s job is to collaborate with you to be sure you are 100% happy with your project.
Build – Use the right software to build your artwork.
Most commercial printers prefer you send artwork that has been set up in a page layout program like Adobe InDesign. If you layout text documents in Photoshop, the output will be pixelated. (Raster versus vector – trust us, you want to build in vector. The images and text will retain their smooth, unpixellated appearance.)
If you are printing a document with multiple pages like a book, the final PDFs should be sent as single pages and not in spreads. Your printer will impose your project for the best efficiency based on the press that is running the job.
Images – Embed and adjust your images.
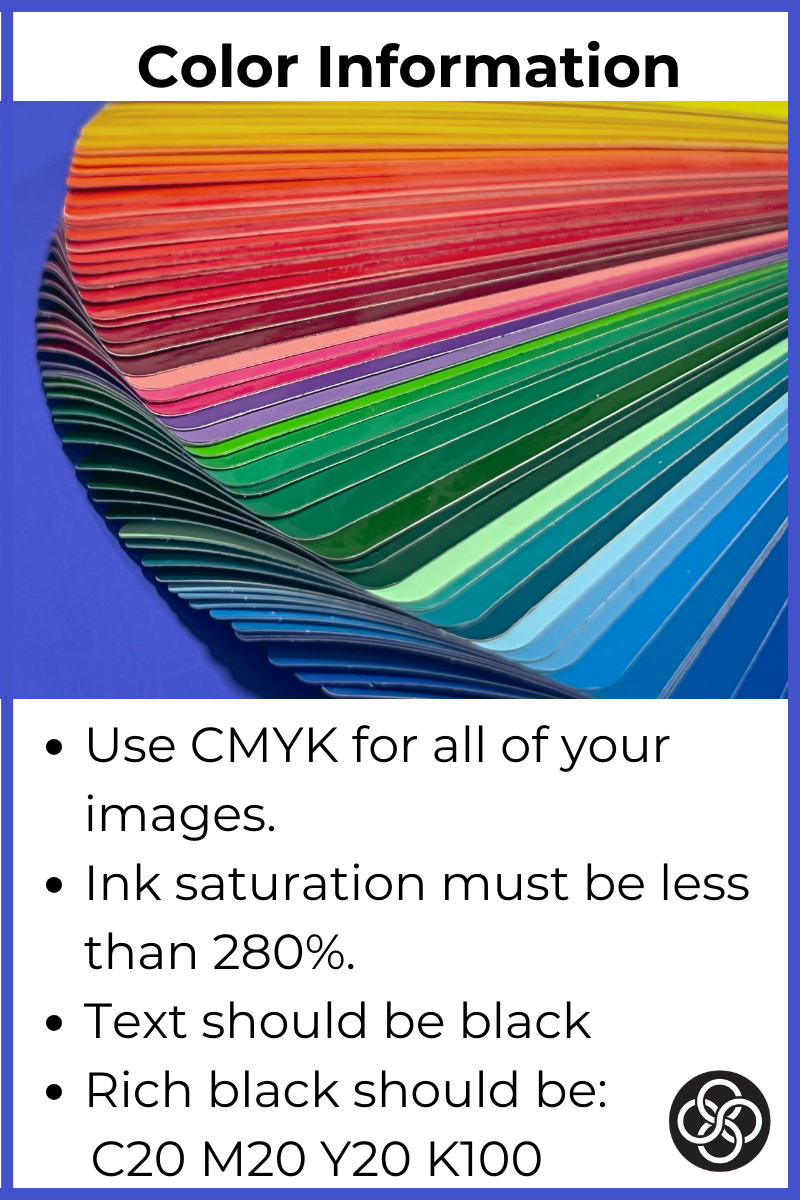
Be sure that all images are embedded in your final PDF. Use high quality images, at least 300 dpi. Before finalizing your project, convert RGB images to CMYK. RGB images will be converted automatically to CMYK, but you may not like the results. This will give you an opportunity to change or adjust color if needed.
 Text – Convert your text.
To avoid any font issues, it’s best to convert your text to outlines. While most printers have a large library of fonts, sometime that unique font you chose isn’t on their list. Converting the text alleviates this problem. At Lawton, we recommend 6 pt as the smallest type size.
Export – Export using the right settings.
Each printer has a specific preference on files – PDF, native, or both. (See Tip 1 – Communicate with your printer.) At Lawton, we prefer you send a PDF and use the export setting: “High-Quality Print.” We ask you to always use a minimum of 1/16” bleeds and then click on the box in the options to “Use Document Bleed Settings”.
Our production team is here to help. If you have questions, don’t hesitate to reach out. Our goal is to produce beautiful print work that meets your marketing goals.